Recently, I’ve gotten the mod bug. Maybe it’s the logical consequence of owning a ridiculously oversized retro console/game library; maybe I just got tired of paying other people to mod things for me. Either way, I picked up a brand spanking new soldering iron about a month and a half ago, and I haven’t been able to stop.
First, I kept it relatively simple, installing a stock mod boards. After a few failed attempts with a Turbo Duo (more on that in a later post), I found some success with an N64 RGB amp… the results came out looking pretty good.
You’re going to have to take my word on it when I tell you I installed the mod myself. I didn’t think to take a picture of the completed installation, and I’m too superstitious to open it up and poke around now.
With a successful console mod under my belt, I started thinking about controller mods, which led me to slagcoin and its treasure trove of PCB diagrams. You have to crawl before you can run, so I thought I’d start small, by putting an LED in an old third-party Genesis controller.
https://www.instagram.com/p/BQ89ciFBY1r/?taken-by=subspace_briefcase&hl=en
As that didn’t prove too difficult, I came to the conclusion that virtually everything could be improved through the edition of an LED. Like, say… a few Genesis controllers I spray painted a couple of months back.
https://www.instagram.com/p/BQ-9gX0hrUP/?taken-by=subspace_briefcase&hl=en
Pleased with these results, I got a little more adventurous, and decided to go to town on a limited edition Sega Saturn controller.
https://www.instagram.com/p/BRCb4NlB273/?taken-by=subspace_briefcase&hl=en
And, finally, since I had an old NES Advantage that needed cleaning, I thought I’d give it a new paintjob and drop in some green LEDs.
https://www.instagram.com/p/BRPVlh9h5Ra/?taken-by=subspace_briefcase&hl=en
While I think I’ll be putting LEDs into things until the day I die, I was still hungry for more. After looking at some NES controller PCB diagrams, I became convinced that I could add a new button – a “C” button, if you will – that would function as a simultaneous press of “up” and “B.” Theoretically, this would allow me to fire subweapons in games like Castlevania and Ninja Gaiden with a single button press. The inspiration came from the “III” button on the Avenue Pad 3 for the PC Engine, which functioned as a second “select” button.

A lot of games for the PC Engine used “select” for gameplay functions, and this bad boy made it easier on the player to make that button press. My “up and B” mod probably wouldn’t be as useful, but hey, I had soldering fever, and I wasn’t going to stop.
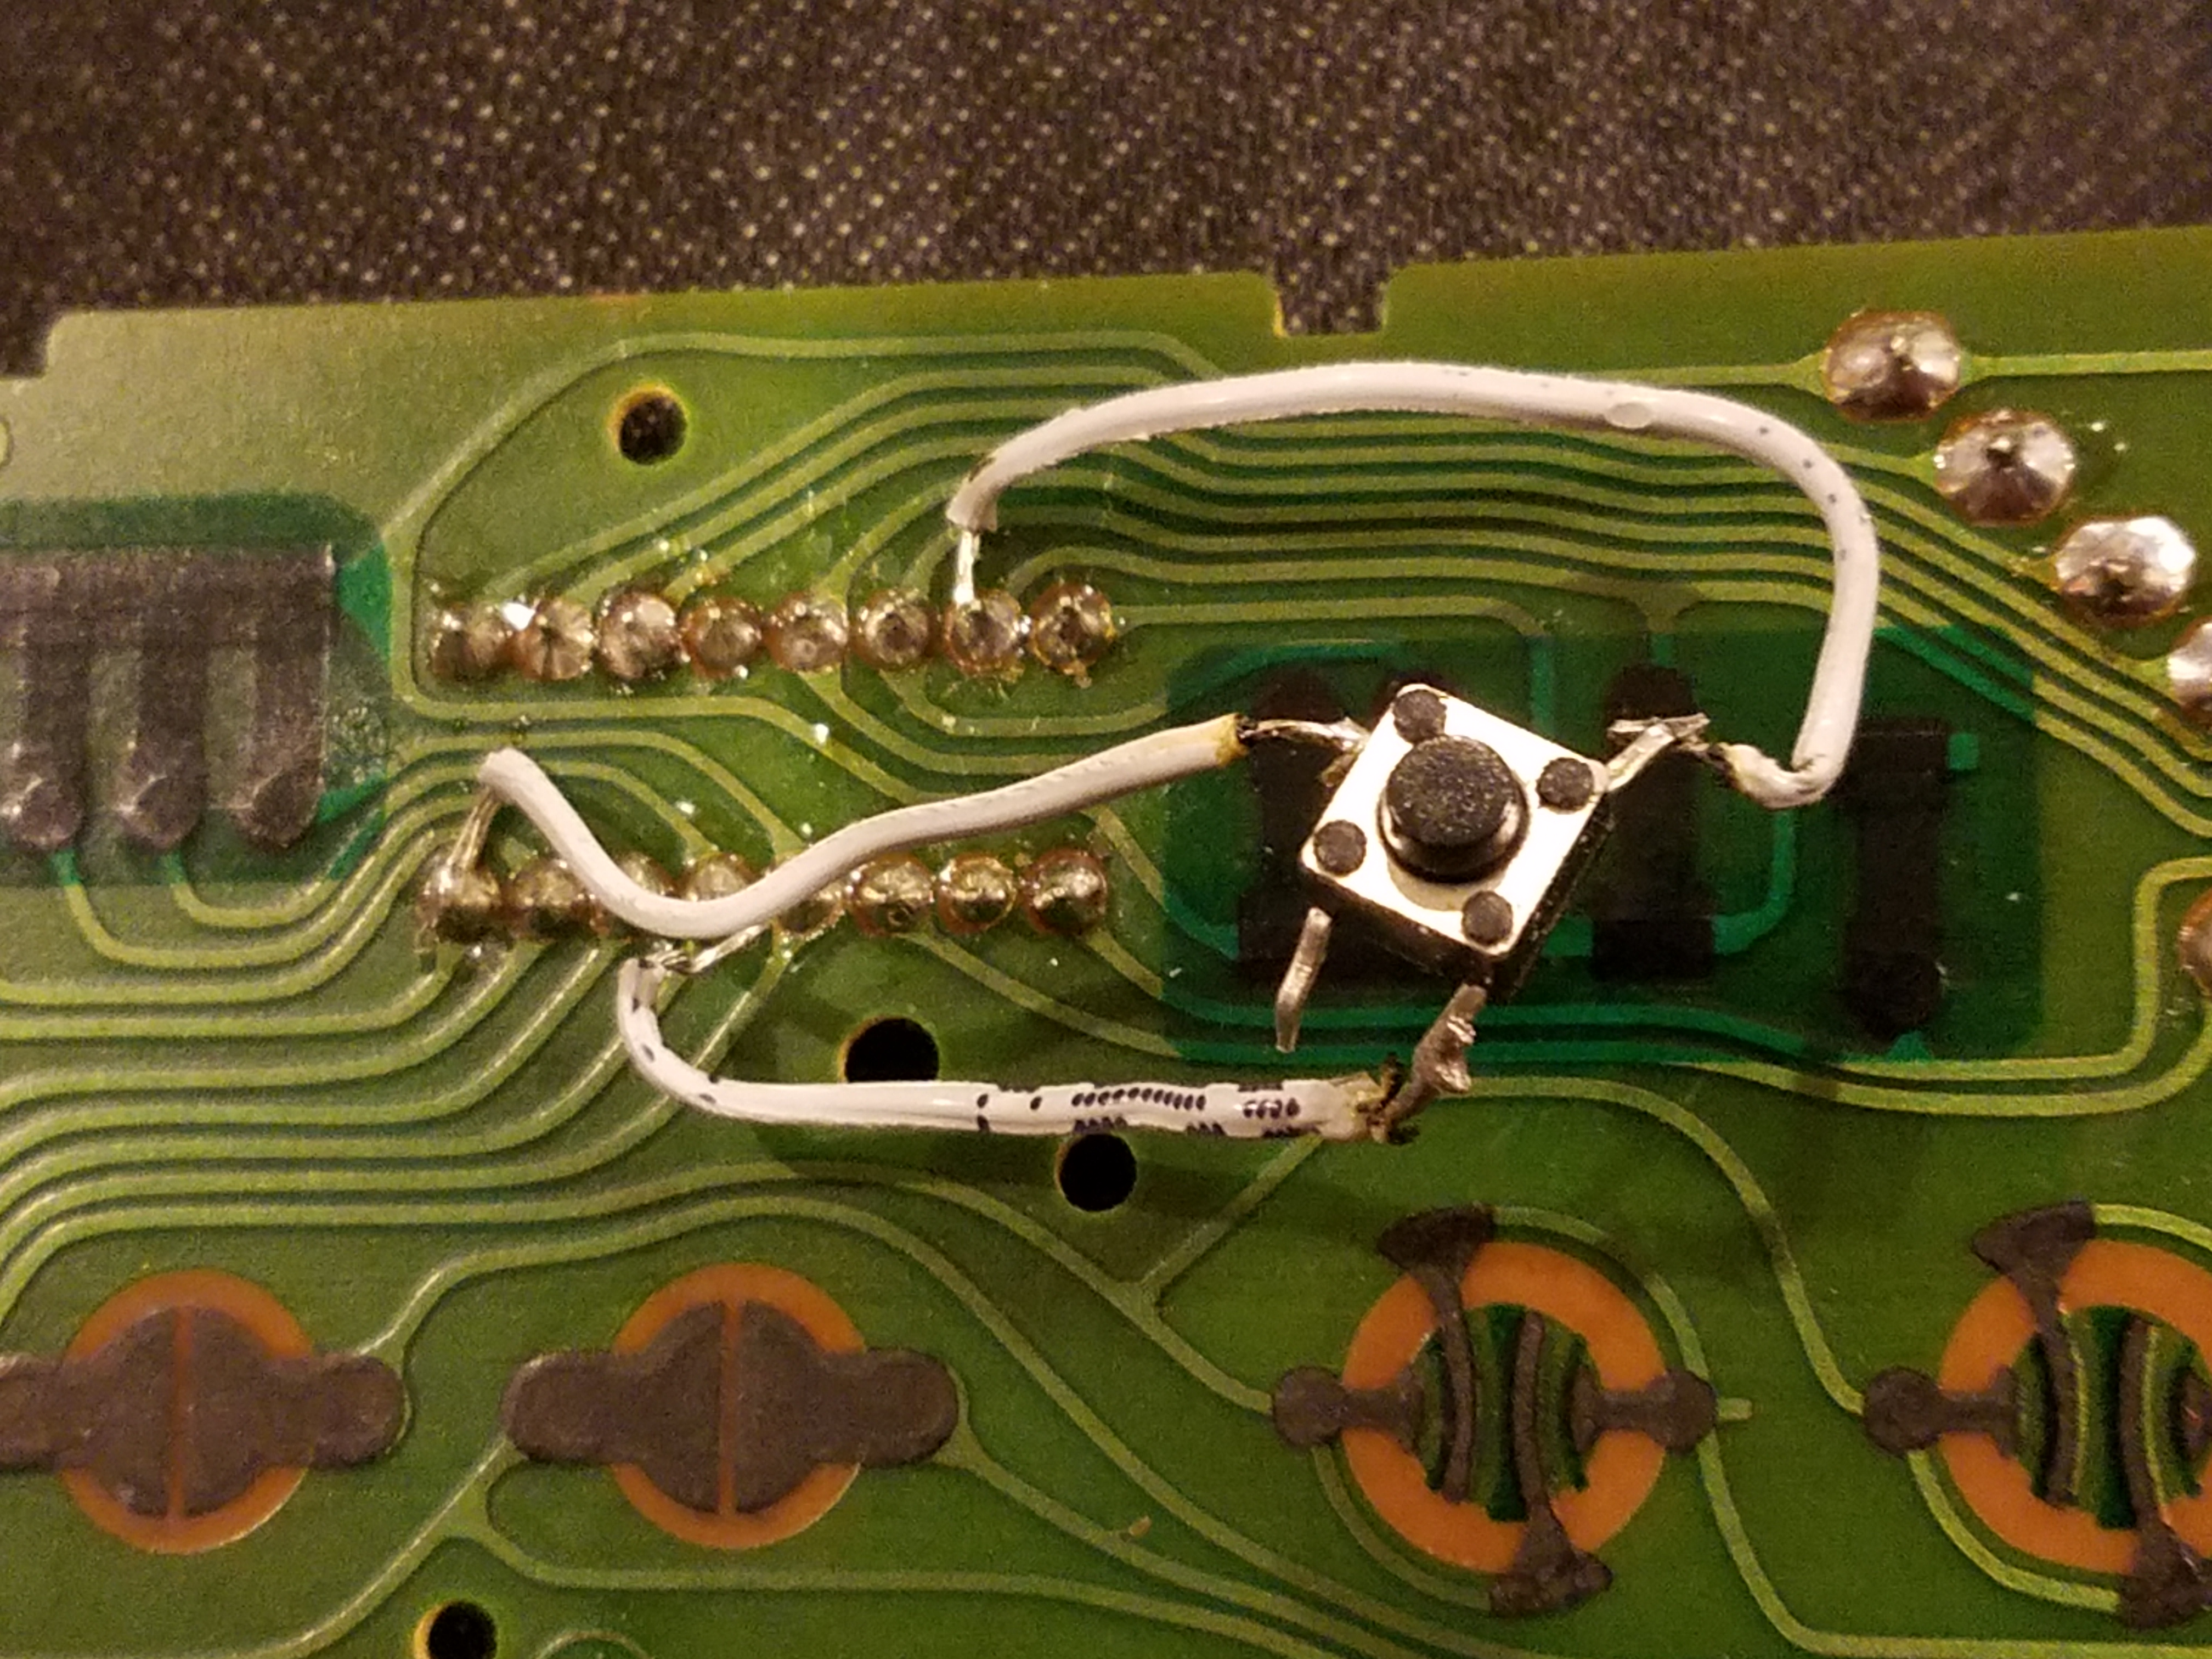
I had some tiny little buttons from a breadboard kit, and I figured I’d use them. My first attempt, in all its glory:
The wires on the right side of the button are running from “up” and “B.” The wire on the left side is running out to a ground. On a certain level, this actually did work – pressing that button did trigger “up” and “B” simultaneously. Unfortunately, however, pressing either “up” or “B” individually ALSO yielded simultaneous presses of both buttons. This is because this was a “SPST” – single-pole, single-throw – button. Basically, the wiring of the button was such that by placing “up” and “B” on the same side of the button, I was actually wiring them together.
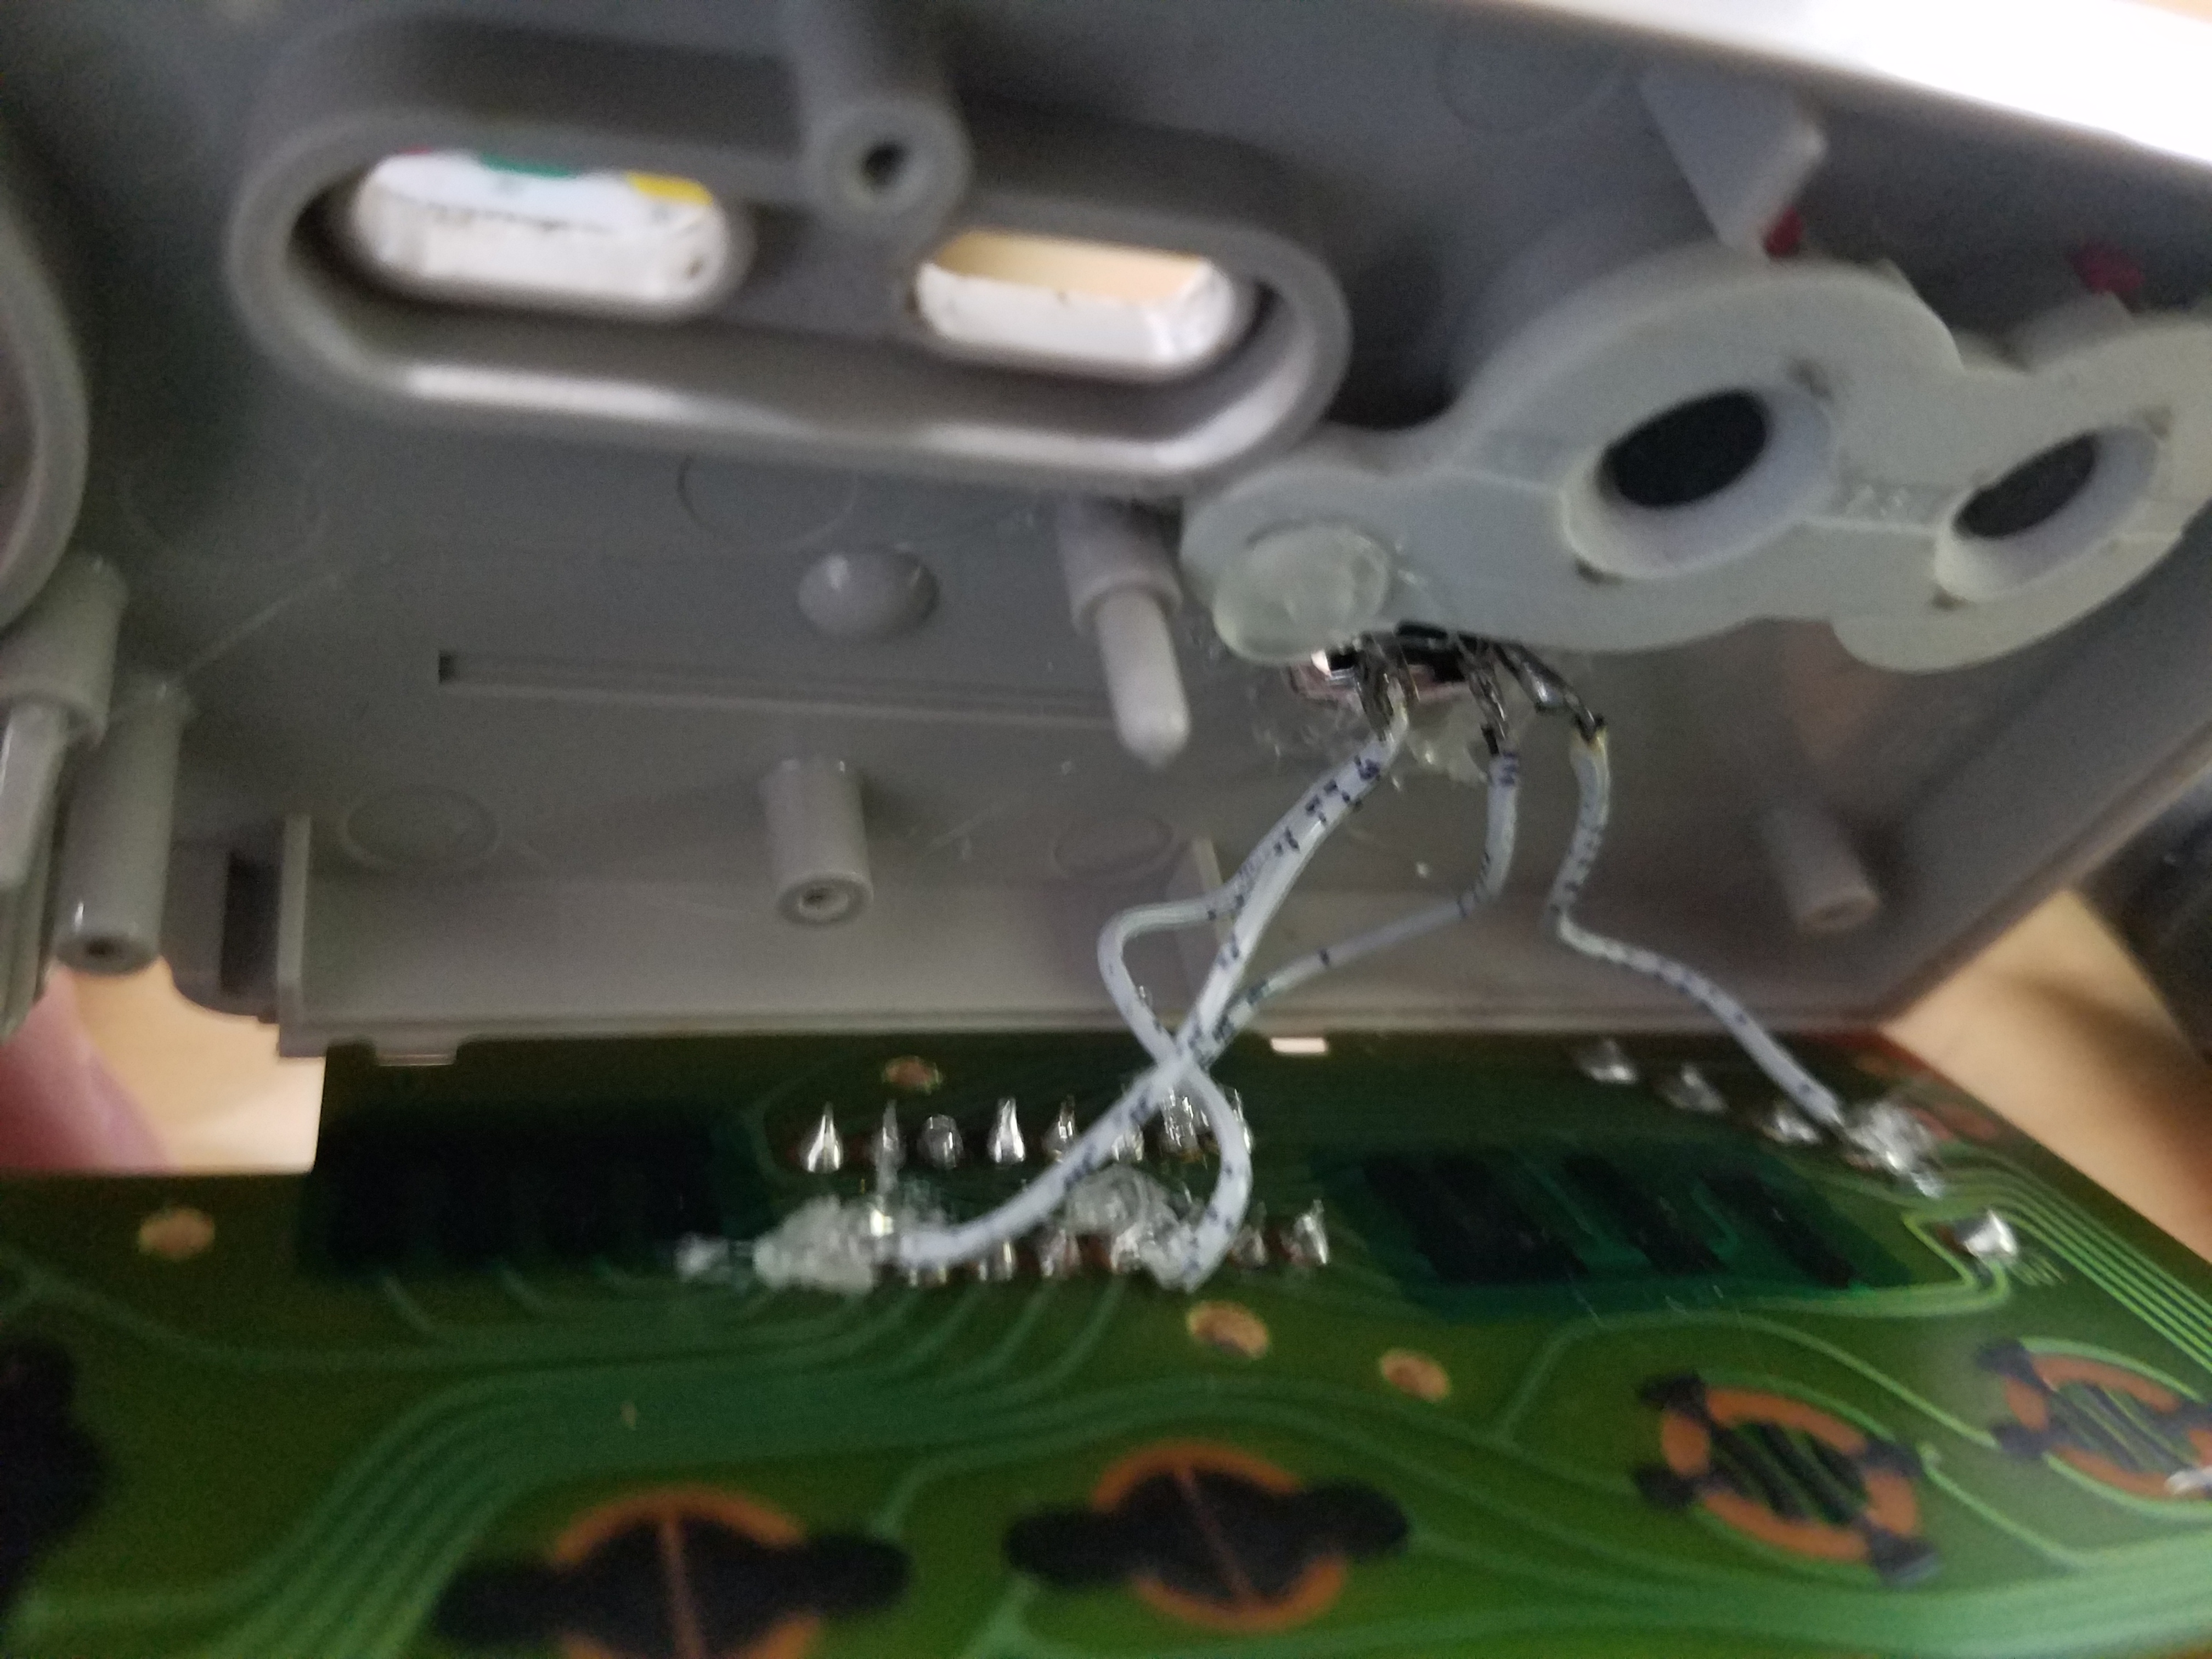
After reading up a bit and consulting a friend (who happens to be an engineer), I learned that what I needed was a “DPST” – dual-pole, single-throw – button. This would allow me to wire my custom button in such a way that it could complete the circuits for both “up” and “B” without linking them together. My second attempt:
Alternate view:
It’s a little more difficult to see, because I reinforced my soldering job with hot glue, but the wires on the right side of the button are running from “B” and a ground and, the wires on the left side of the button are doing the same thing for “up.” The ugly end-result:
It ain’t pretty, but hey, that Nintendo Power sticker from ’93 wasn’t much of a looker to begin with. Did it work?
HELL YES IT DID! The button is kind of touchy (cheap parts or bad soldering on my part, not sure which yet), but it works – you can see it when Ryu sticks his hand out. Fun stuff!
I’d encourage any retrogaming enthusiast to pick up a soldering iron and try their hand at some mods. While I’m still a neophyte in the modding arena, I feel like I’ve revealed exciting new depths to my chief hobby. It’s easier than you think!
More to come!


